It’s almost better than reading books and much more instantly gratifying: Pinterest. I love this site. It’s the new method of flipping through magazines for ideas and putting them all in one place: quotes, decor, motivation, design ideas, garden ideas, etc. Now if I could only get OFF pinterest and start working on my own abode…I’m still planning, okay?! This is everything I love all mixed in one.
Category Archives: Sewing
Custom Made Round Dog Bed
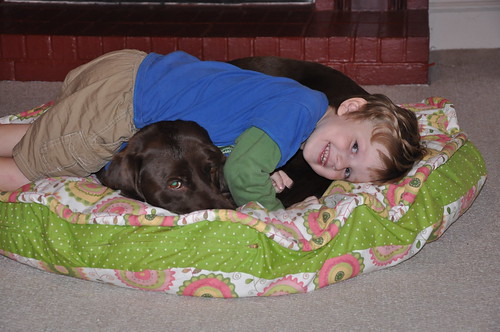
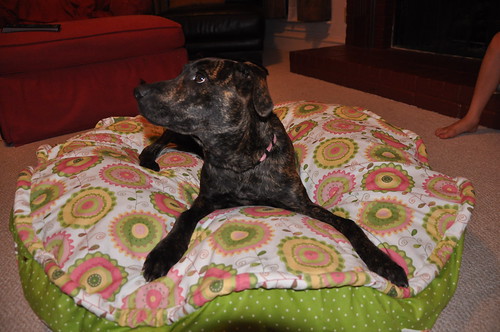

My first zipper. My first dog bed. My first custom made dog bed cover. While it’s in my blood, I ought to whip one up for Christmas. Otherwise, I may move on to something else and give it up completely. It’s adorable fabric – I just wish it matched something in my house (we’re all reds here) but it is really, really cute. The boys are enjoying it which makes me want to make them some bean bags for the playroom. There are some giant knitted bean bag type things I’d like to make for them…another day, another project!
Giveaway at Grosgrain Fabulous


I have been following Grosgrain Fabulous for quite some time now. Love, love, love her giveaways. The costumes are just the best. These baby clothes are adorable, too, and are patterns for a beginner which gives me hope. Pop on over and take a look – I’m sure you’ll love her site, too.
Fun Easter Holiday Ideas


Shhhh! I’m supposed to be working. It’s taken me all day to clean off my desk and, in order to clean off my computer screens as well, I’m gonna need to document these adorable Easter ideas that I came across a couple of days ago. First, the Peeps Bunting by Dana of Made on V and Co website is ADORABLE – I can’t decide which I like better, yellow or pink! Second, I love the twine she recommends in spring green over at Divine Twine. Happy Easter sewing. Wish I could make some peeps this year but maybe next now that it’s “in the files”.
Chez Beeper Bebe’s Felt Kids Book


From Chez Beeper Bebe and it’s just adorable! And I vaguely remember having enough extra time to create something like this…so cute. My kids are (mostly) too big for this but I’m keeping the adorable idea, just in case.
Valentine’s Candy 2010

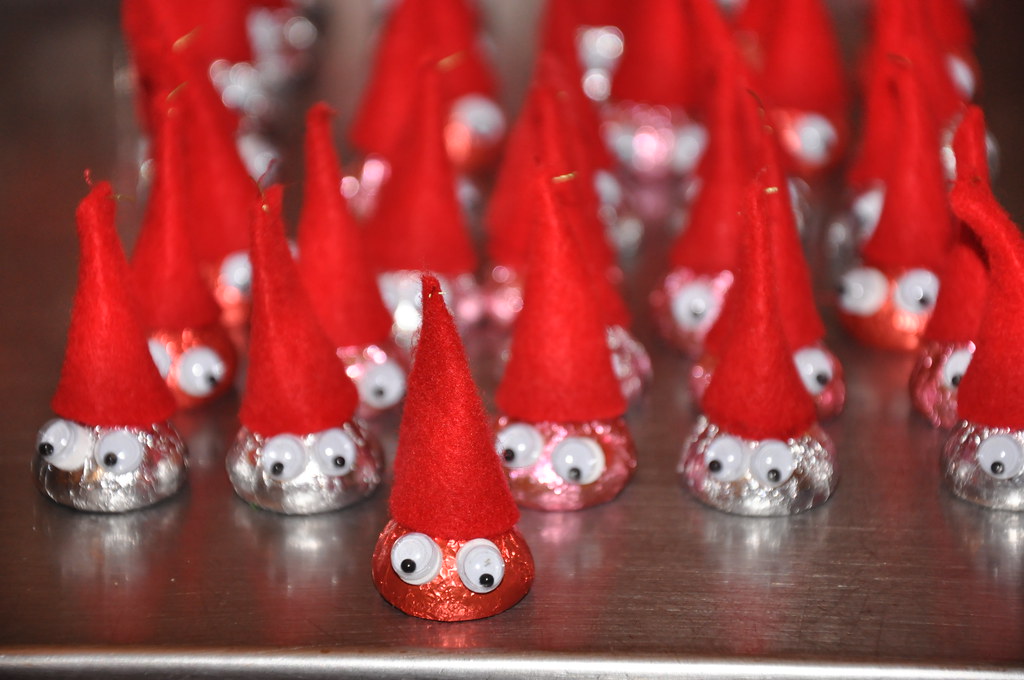
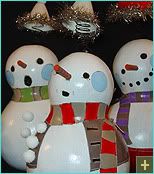
It’s a little gnome army. Cute, huh?!?
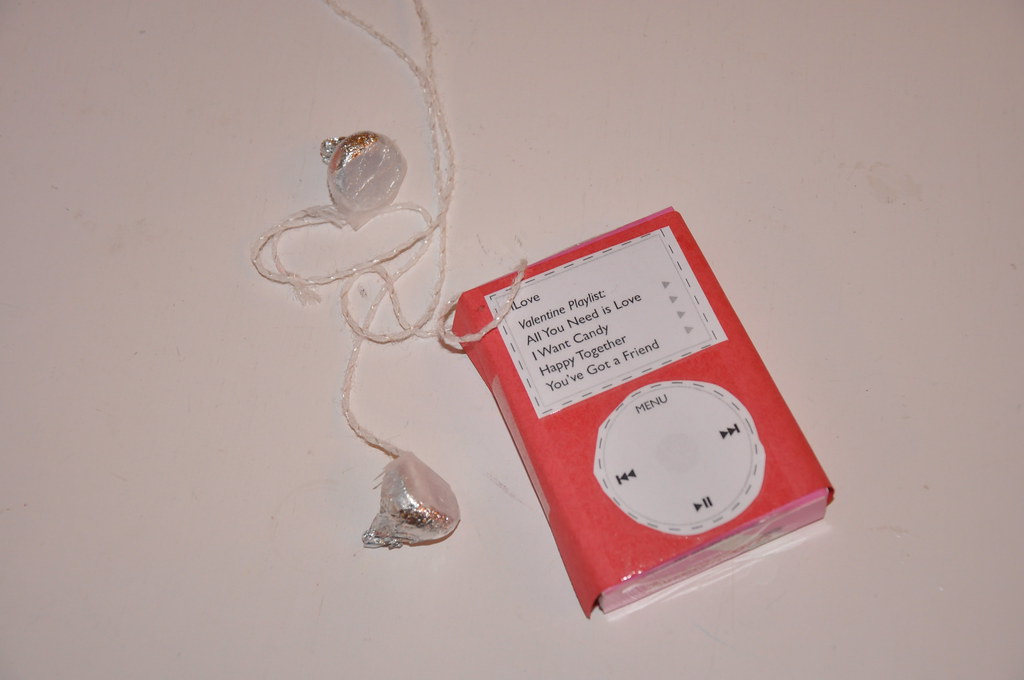
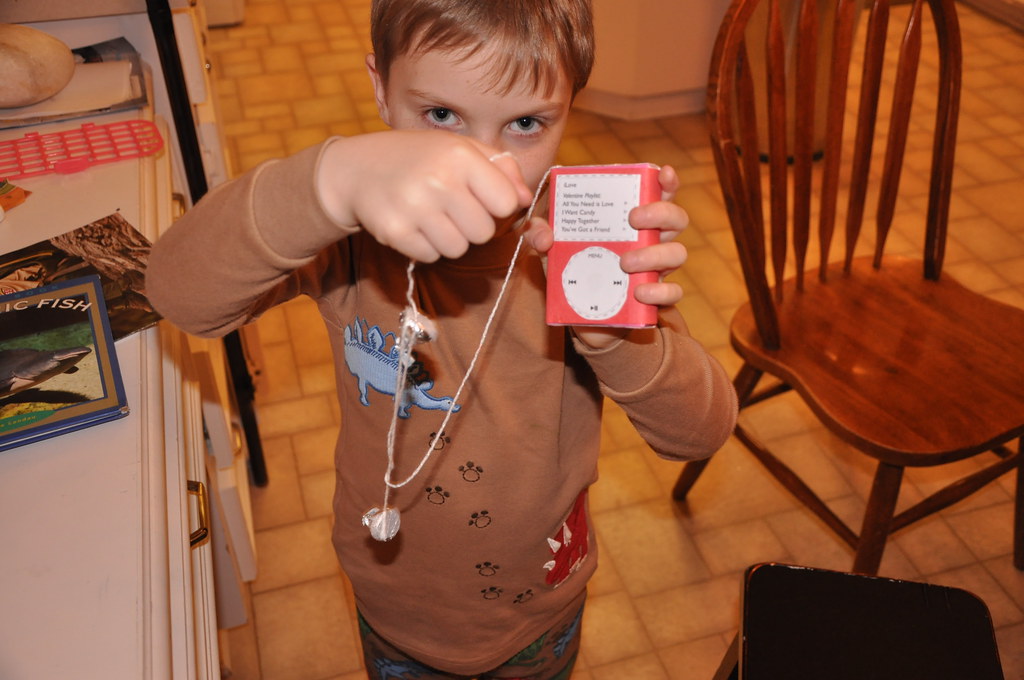
Jack’s showing off his candy sweetheart ipod box. Both ideas are from Family Fun online, except I modified the gnomes by sewing the hats instead of gluing them with fabric glue.
Amy Bradley Book Giveaway Winner!
Ta, da, da, da…the winner is….Carmel of Mellow is Me. Congratulations, Carmel. Email me your address and I will get your book sent off to you.
On another note, I am super swamped with “real” design work so the blogging will be on hold for a little while. Be patient with me and I will make up for it with super fantastic holiday ideas that I’ve been saving up and will post very soon! Not to pass over Thanksgiving, but I’m in the mood for Christmas!
Amy Bradley Quilt Book Giveaway!


I love, love, love Amy Bradley’s designs. Partly because she was a graphic designer first. Yes, I’m biased. In honor of meeting her at Quilt Market, I’m putting up one of my purchases – her book pattern called Peek-A-Boo – for a giveaway. Just make a comment on this post before Halloween at midnight and you will be entered to win. If you link back to this giveaway on your blog (I can see your links so no need to tell me), I will automatically enter you twice. I haven’t held a giveaway in awhile since we moved and this is a great way to remember all the Quilt Market fun! Good luck!!! For details on this particular book, which runs $20, check Amy Bradley’s website.
Quilt Market Houston, Here We Come!

I’m tagging along with my quilter friend, Benay of Beany Boy Quilts to Houston’s famous International Quilt Market 2009. Stay tuned for info and pictures next week! We are going to play hard for the next 48 hours. Watch out Houston, these Nebraska girls can cause a lot of trouble!!! In the meantime, go over to Willow Leaf Studios by Jodi Beamish and check out Benay’s new pantograph designs. That girl learned Illustrator faster than anyone I’ve ever met and has some great new designs being sold on Jodi’s site.
What I Designed Today: Business Card Design for Beany Boy Quilts

Here’s my friend’s business cards. I need to blog more about work stuff so that I have copies of them online – since I keep putting off my business site. Ahh…too much to do and so little time.
Link Love & Giveaways for a Rainy Wednesday
It’s a wonderfully rainy day in Houston today and I have lots on my plate. Mainly getting my office straightened up – still – so I thought I’d just share with you some wonderful links including great ideas and giveaways. Hope you enjoy them! They’re from some of my favorite sites to visit when the need for inspiration strikes.

Grosgrain Fabulous always offers the most beautiful creations. Now she’s offering a poppy boutonniere, but even if you don’t win, there’s always the tutorial on how to make the beautiful things. Click on her link and be sure to check out the blue one attached to the pillow – gorgeous!
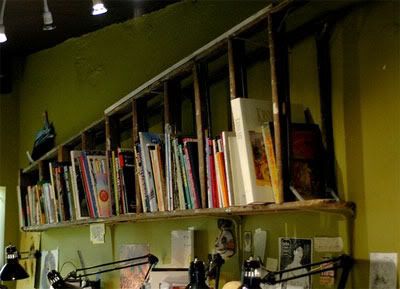
Dudecraft made a bookshelf from an old ladder – I don’t know how practical this would be with children shaking walls and all but it looks fantastic, doesn’t it? And oh so clever. I love repurposed things.
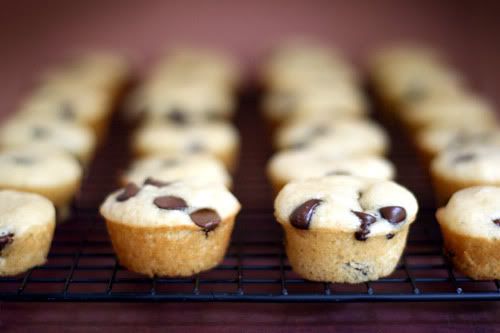
So I’ve been searching for what to put in my kids’ lunch boxes other than the usual fare and I ran across this idea from Bakerella (isn’t that site wonderful?!): pancake muffins. With chocolate chips. Sounds like something my kids would eat and it’s not quite as sinful as a full-on brownie for lunch. Sometimes you do whatever you can to get calories in a child or they would not eat at all.
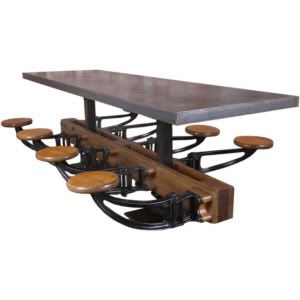
If you have thousands of extra dollars, be sure to check out Get Back‘s website full of beautiful vintage chairs, tables, you-name-it. It’s a fun reminiscent kind of thing and the restoration of the items has been just lovely. It would be kind of nice to step back in time…but we probably wouldn’t appreciate it like we don’t appreciate our current design trends. Anyway – it is surely fun to look around the site!
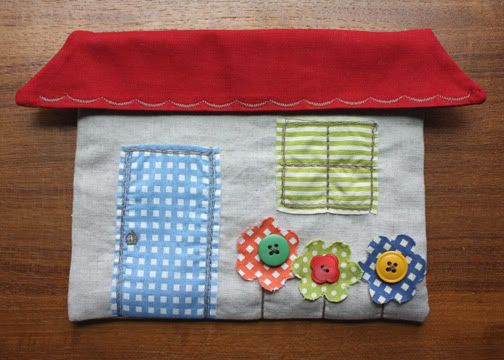
The Long Thread has this adorable little house pouch. I just love this cute design.
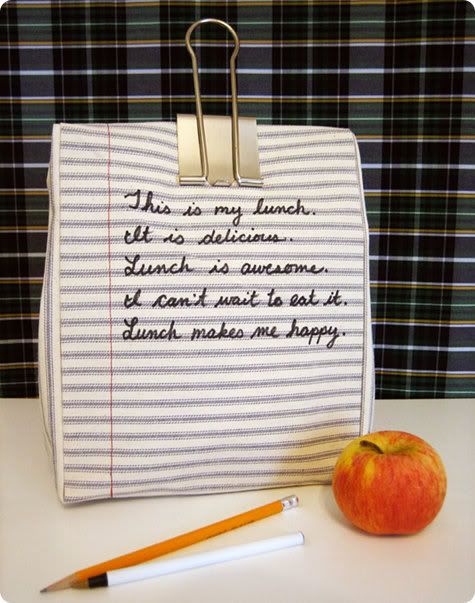
Design Sponge has the cutest lunchbox creation. And it actually looks like something I could do! But I’m not sure if it’s something any of my B-O-Y-S would carry to school or use. Maybe if I made a camo lunch box out of other repurposed fabric. But I do love this notebook version.
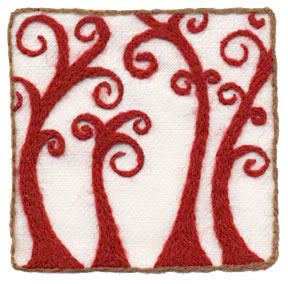
Wool & Hoop make the cutest crewel-work kits. The only crewel thing about it (ha! I crack myself up!) is that I don’t do crewel work. But the work is just gorgeous, no?
Artist Jeni B. Gochnour makes adorable festive fall and Christmas holiday items, doesn’t she? What great faces these characters have!
Cathe Holden of Something I Just Made created these items from pictures of a cherished quilt. What a great way to remember the quilt in a more permanent fashion.
There. I think that’s enough browsing for today. Hope you enjoyed some of the links!
Houston Heights I
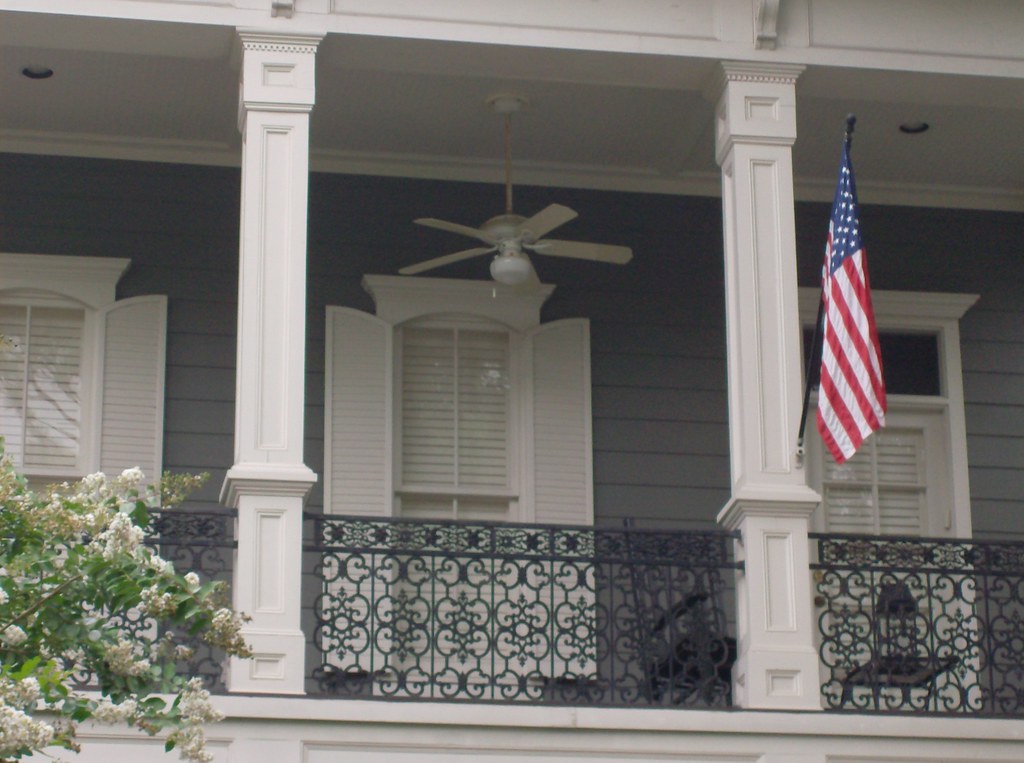

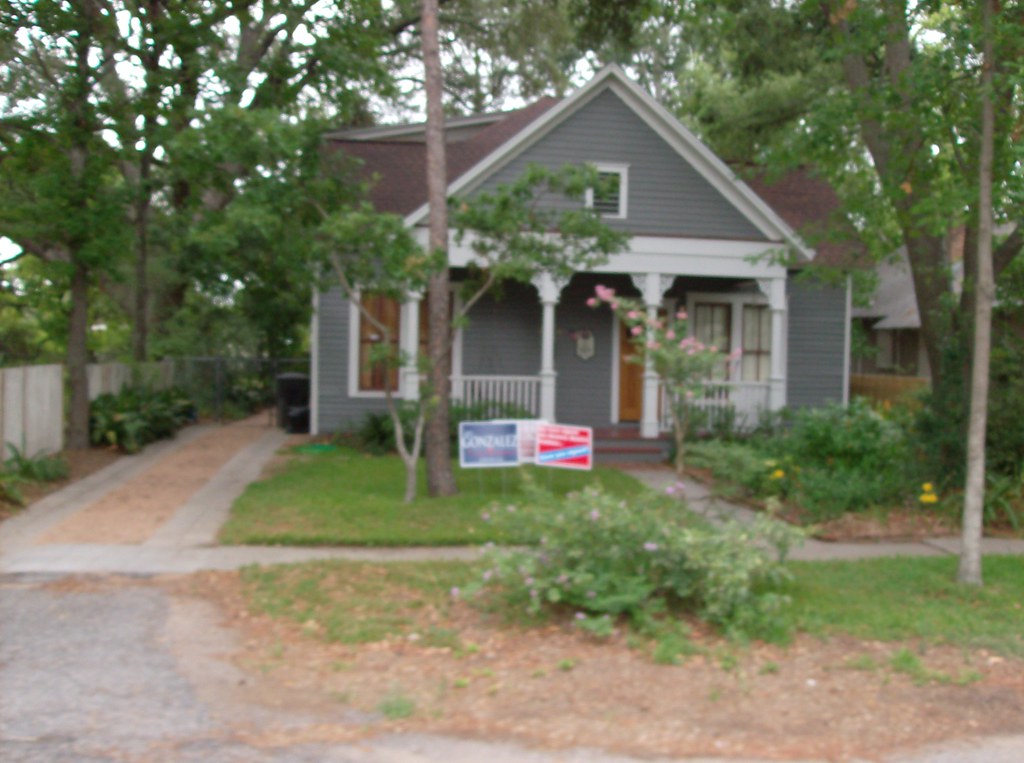
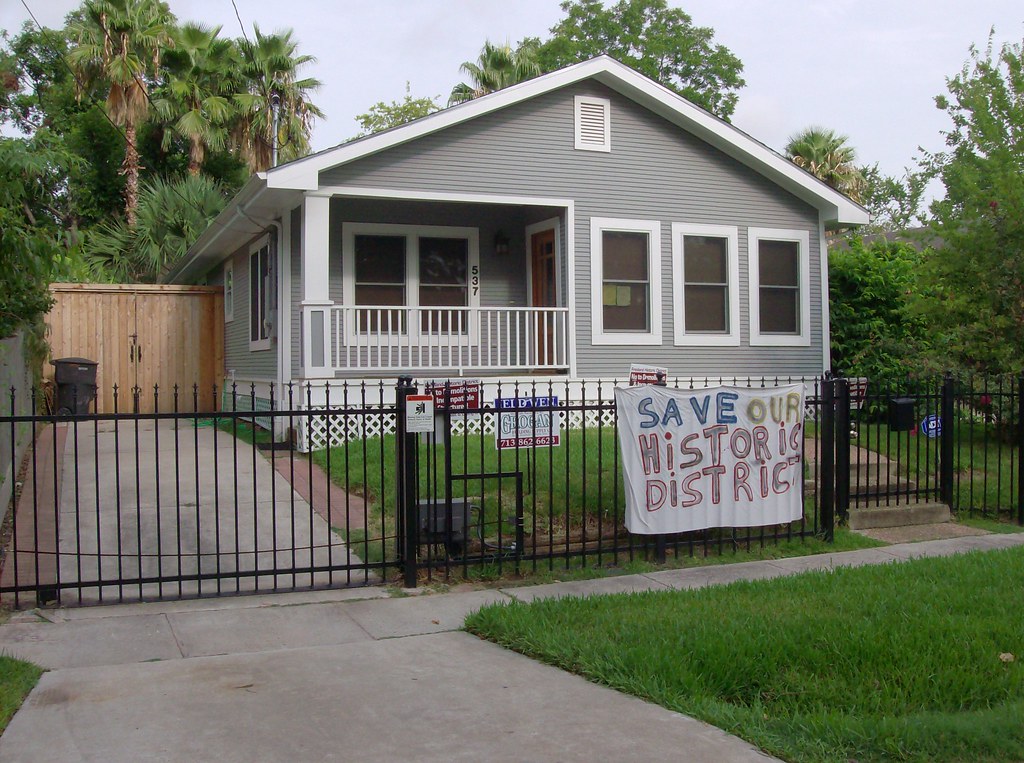
So I had a client meeting in The Heights on Monday morning and I had never been to the area. To be honest, I was afraid to go anywhere near downtown – small town chicken that I am – but it was a very fun, artsy, historic area. It reminded me of Dundee in Omaha. I left Spring around 8:15 and arrived in The Heights around 8:45 but my meeting wasn’t until 9:30 so I drove around taking pictures like a tourist.
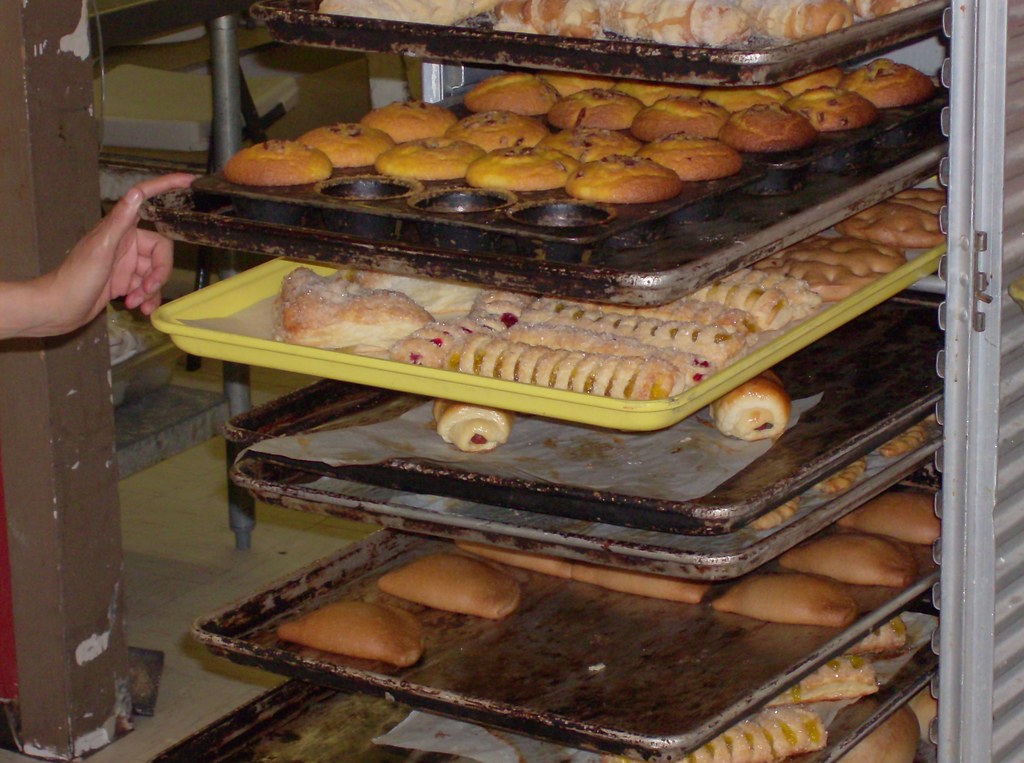

I also stopped at a cute bakery and took pictures of the oodles of goodies because they were so colorful! I have never seen such pink cookies in my whole life! The pastries were filled with pineapple filling. There was a sweet potato filled empanada. There was a cinnamon doughnut looking pastry filled with apples. I also bought some sugar cookies for my potential clients. I accidentally gave away the treats that I purchased for Don and brought home the sugar cookies. Oh well. After all that, the kids didn’t even like the cookies. They were dry and crumbly (okay by me) but not very sweet at all (even though some were coated in sugar) and tasted of cornmeal. Hmmm…I guess we’re too sugarified in the midwest. Would probably take some getting used to.
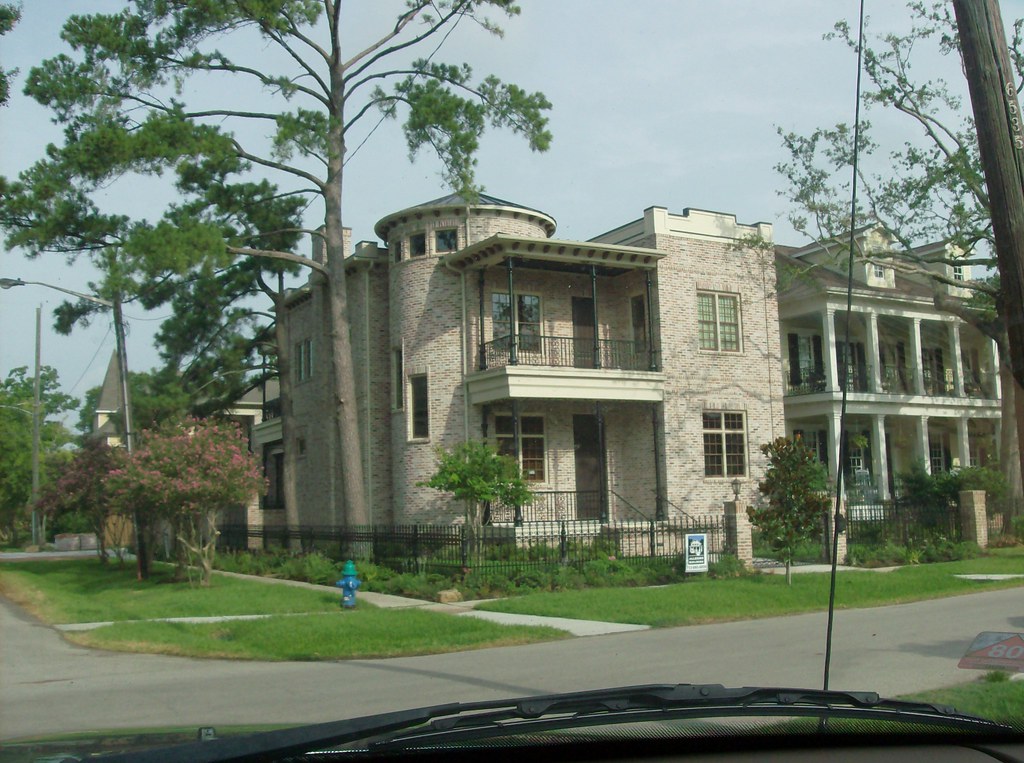
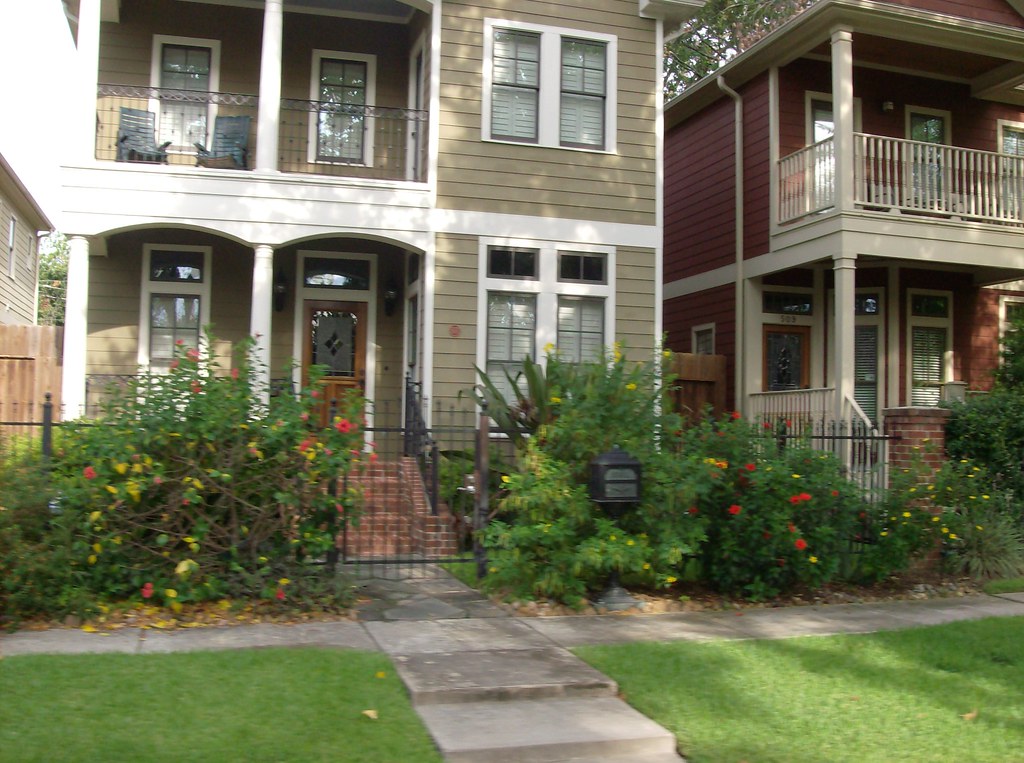
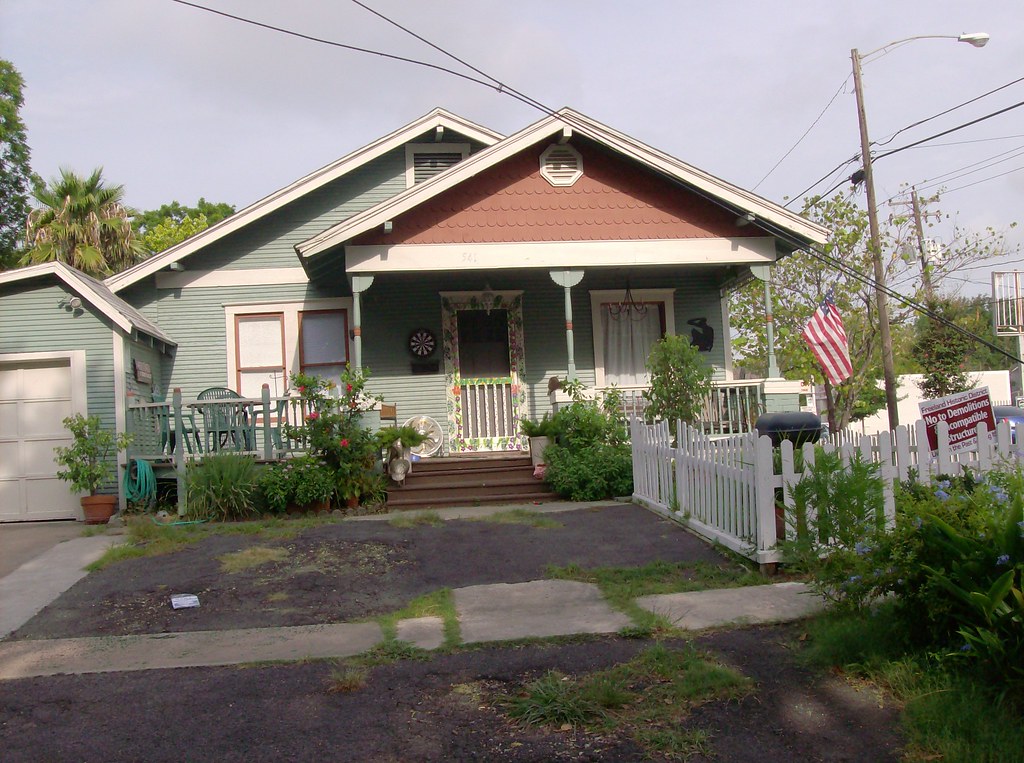
I’m posting some of my random shots while driving and hanging out the window but I also found some shots of Heights houses for sale. One of these is for sale for $1.3 million. {cough, hack, cough} Trendy, indeed.
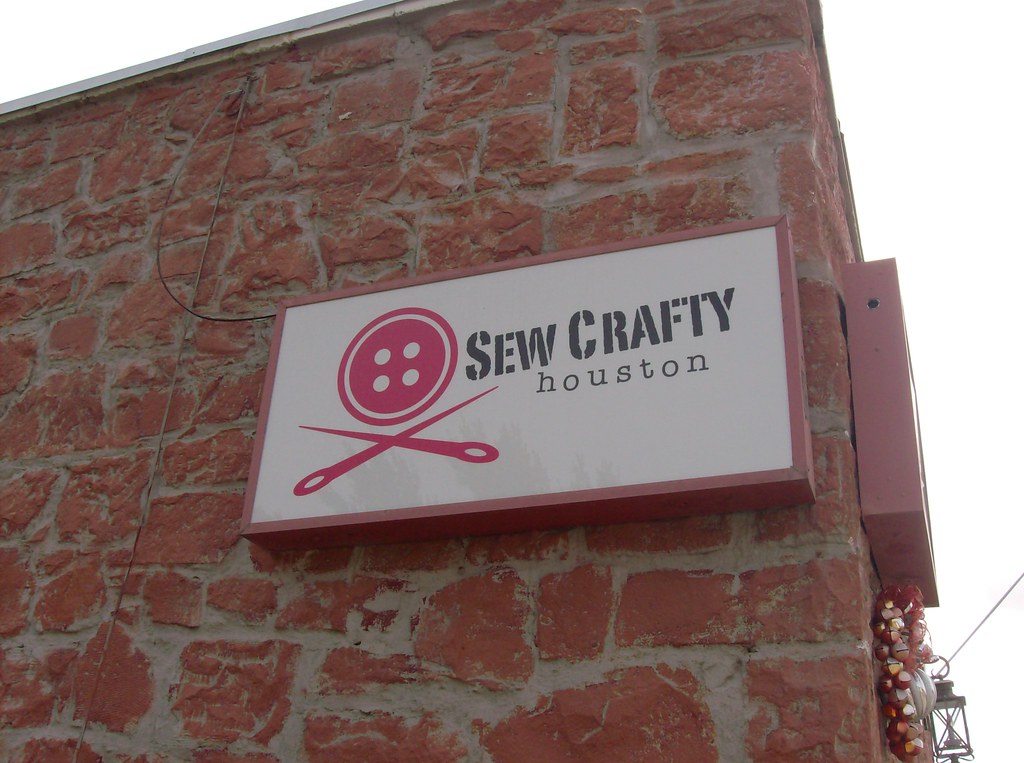
One thing that I am excited to have found is a little shop called Sew Crafty – Houston. I haven’t looked it up online yet but it looks like they offer classes all week. They were closed when I got there but isn’t their logo really cute? I’ll link to them as soon as I find out a little more about them.
Great Quilting Ideas!
Blogs continually inspire me. Here are a few great quilting ideas I ran across this morning. I cannot wait to get sewing again – even if I don’t quilt. I just might convert someday. The rag letters are adorable!

This Polka Dot Quilt Tutorial qfrom And Other Silly Things is beautiful!

What a great way to “plan” a random quilt by Oh Fransson.

Whip Up has listed some resources for free quilt patterns.

Oh So Happy Together had a great, easy tutorial for quilted rag letters.
Ben’s Minky Dinosaur Blanket
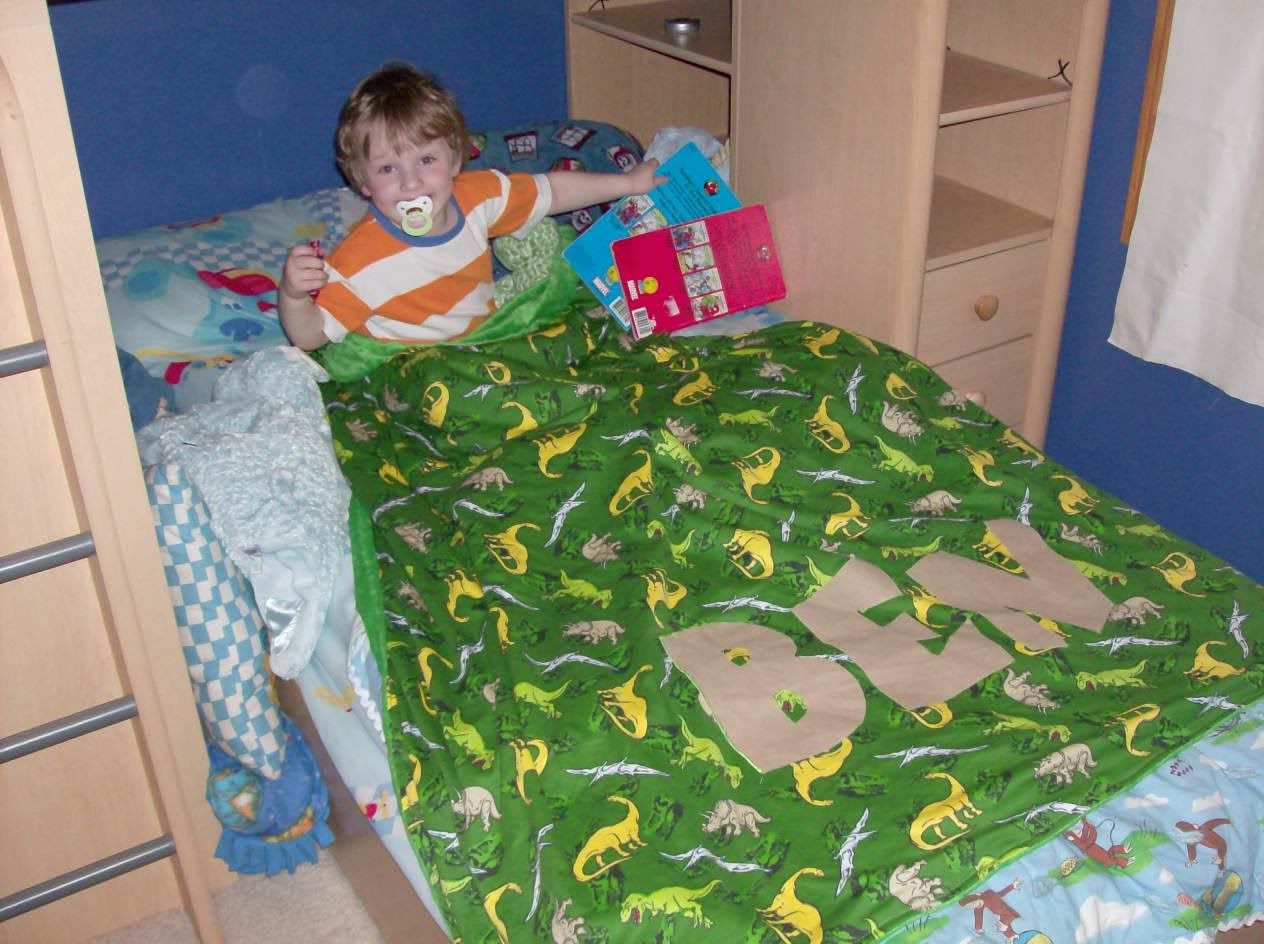
I posted earlier about Ben wanting specific fabric at Joann’s…well, here is what we did with our two yards of each fabric: dinosaurs on one side – green Minky fabric on the other. The blanket was super easy to do – finished in one afternoon – but it took longer than it should have (doesn’t it always?) because the heat-n-bond I used to put the B-E-N letters on gummed up my needle and kept breaking the green Sulky thread. If anybody knows how to do a satin stitch so this won’t happen, please, please let me know!

Step 1: Lay fabric out with right sides together. Cut to the dimensions you want (I could use tips on accurately cutting large rectangles!).
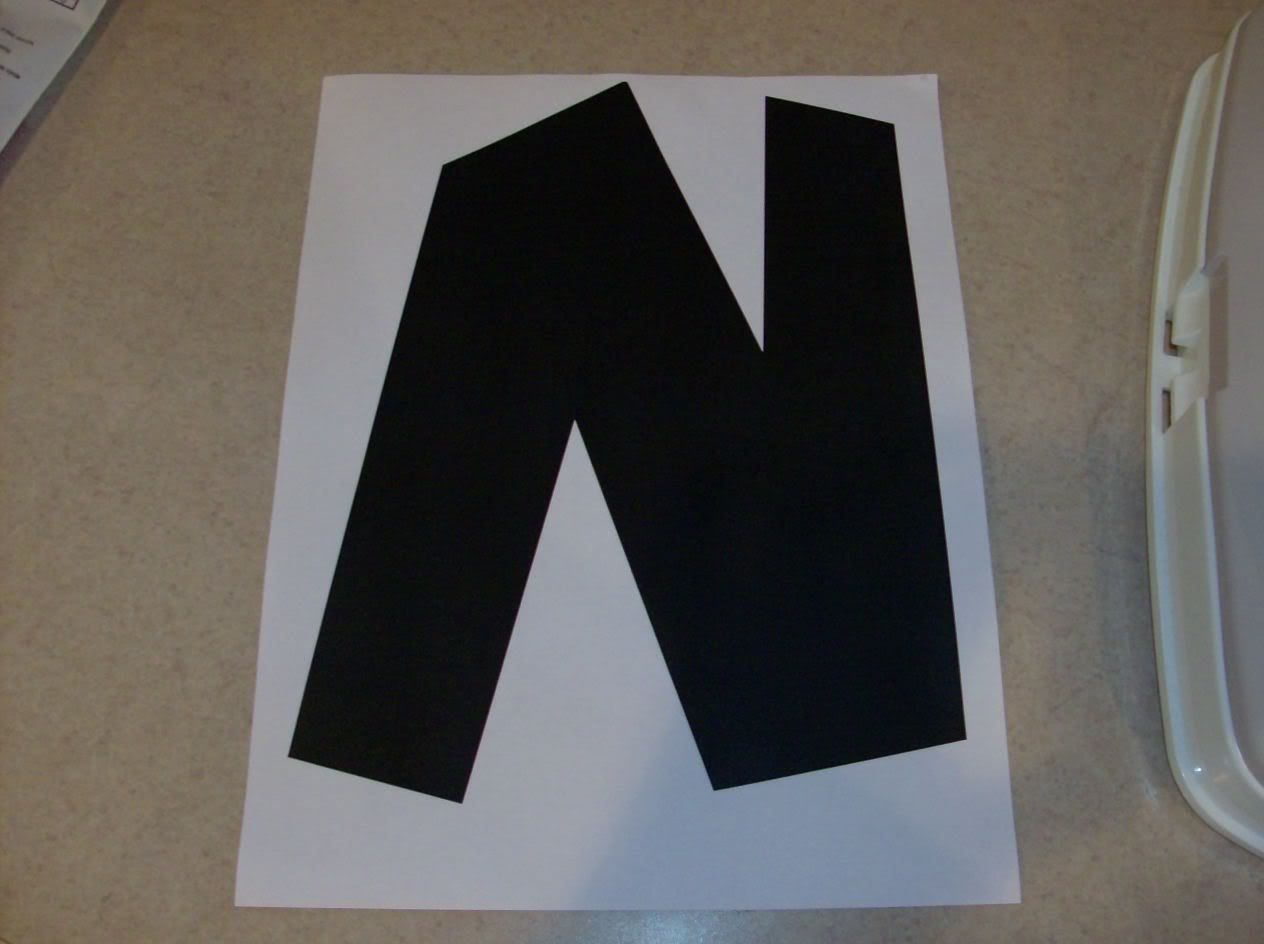
Step 2: Print out the letters you want in the font of your choice – thicker is better and easier to sew regardless of what your stitch will be (best are zig zag or satin stitch).
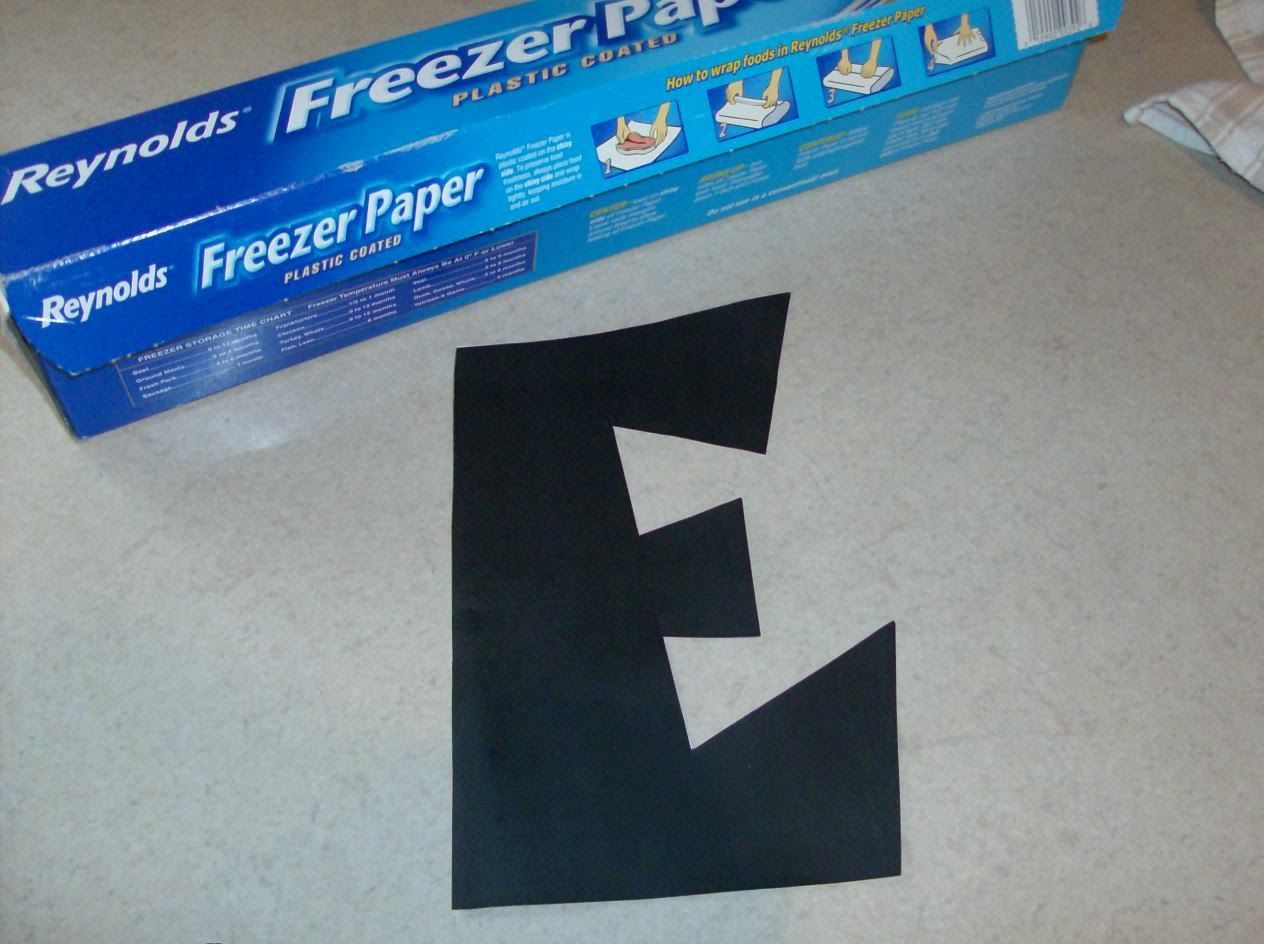
Step 3: Cut out the letter and either trace it onto freezer paper or staple it to freezer paper and cut out the same shape out of the freezer paper. Create the letter so the waxy side is on the back.
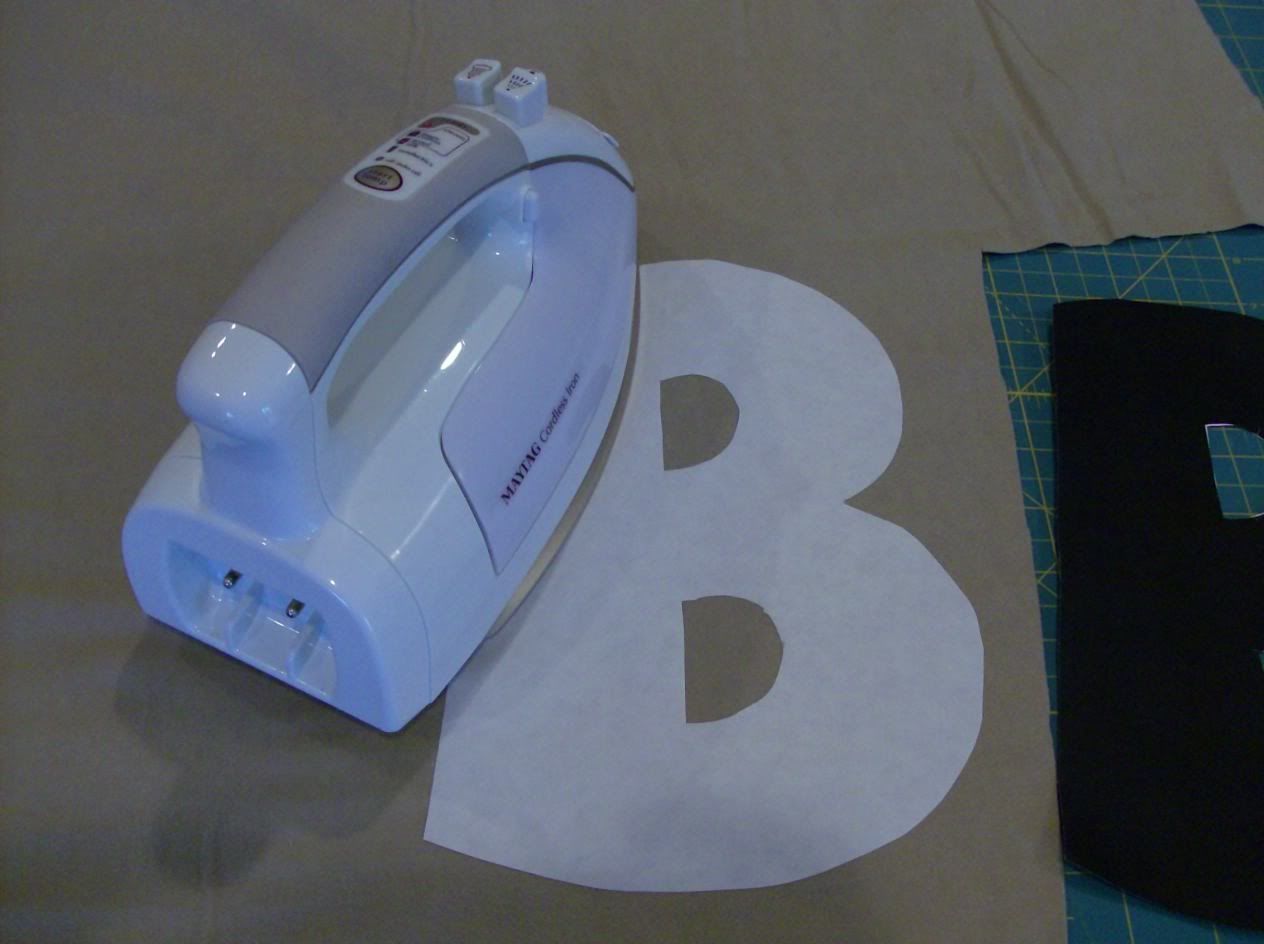
Step 4: Iron the freezer paper, waxy side down, onto the fabric you want to create the letters – mine was brown. Cut out carefully with as smooth of edges as possible. After they’re cut, you can remove the freezer paper if you’d like to.
Step 5: Adhere heat-n-bond to the BACK side of the letters as per the directions on your product. I would highly recommend using a lighter version than the ultra heat-n-bond that I used because when satin stitching it created enough heat to gum up my needle and keep breaking the Sulky thread I was using so for the three large letters I had I had to clean the needle and rethread about twenty times! I, myself, will not be using a wonder-under type thing again but pin my letters in place securely and just sew them on that way. Tip: I ironed one letter on at a time while the others were pinned to the fabric so I would have a visual guide as to where each letter should be juxtaposed with the other two.
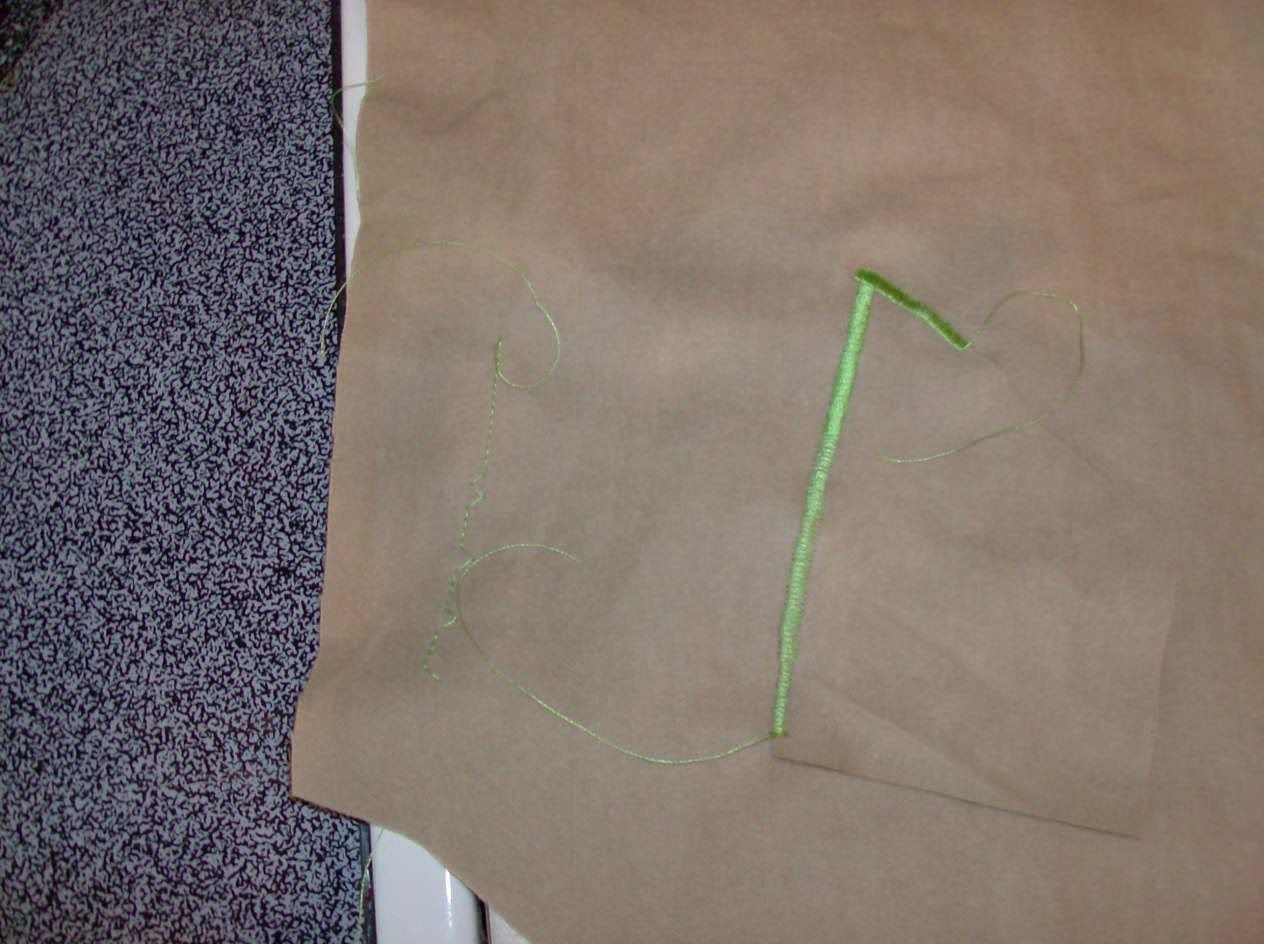
Step 6: I started out satin stitching but ended up having to zig zag because of the gummy needle situation (see above). To make a satin stitch with your machine, just widen your stitch width and shorten the stitch length to 1 or so (you can test this out and create a satin stitch to your liking).
Step 7: Return blanket top to match up – right sides together – with the minky bottom and sew all around the edges using about a half of an inch seam. I used a dinner plate to round the edges of mine – easier for kids to make their own beds with that shape of blanket! Then I sewed all around, leaving a 4″ to 5″ opening to turn the blanket inside out.
Step 8: Topstitch all around the edge as close to the edge as you can get while fingerpressing the opening and stitching it closed. Then, sew around the blanket again about a half of an inch inside the edge to give it a finished look. All done! Easy as pie. Definitely a favorite utilitarian blanket around here – and it looks so cute in Ben’s room.
Please, please if you know of a faster, easier or better way to do any part of this project, please let me know!
Flower Collar Tutorial from Katie Did
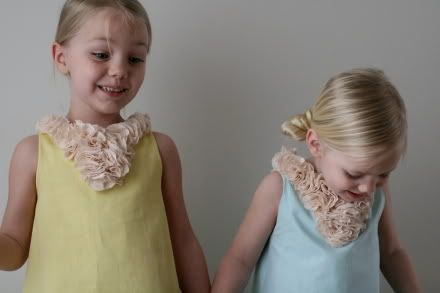
I don’t have girls but these two almost make me want to have another baby!!! What a cute idea. I think I’d like this idea reinterpreted with felted wool or even fleece so the edges don’t fray (though I much prefer the natural fabric and recycling of wool sweaters). Very cute idea from Katie Did!