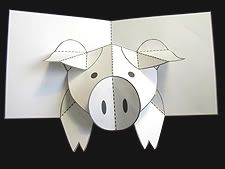
Well, three Christmas cards and a pig. He was just so cute I had to include him – I guess the pig is symbolic for the new year? Hmmmph. Learn something new every day. Anyway, they all look so easy and adorable and are by Robert Sabuda. You can check out his instructions and patterns here. My kids will love trying these this year but I won’t promise to get any actually mailed…
Tag Archives: design
String of Purls & Knitting Projects: Finger Puppets & Stockings



So we were running errands on Saturday and my sweet hubby suggested we stop by the knitting store since he knew I was hankering for a project (yes, hankering) but I didn’t know what. I needed something more advanced than scarves but I’m not ready for tiny-needle socks. Thank goodness for local yarn stores! The owner at Omaha’s String of Purls is so kind, she pointed me in the right direct — pun intended — and I picked up this book on knitting finger puppets! You can buy it here on Amazon for less than $14 (I paid $19 in the store but supporting my local yarn store is so worth it). This way, I can get used to size 1 needles – double pointed, no less – but only have to work with a few stitches instead of a whole sock. I began the Baby Monkey last night and it turned into a mouse since I was using gray yarn…a very bumpy mouse…I practiced french knots all over the body! Now that I have the techniques down, I’m going to give it another try!
Before we checked out, I saw another book lying on a table and remembered that I wanted to knit our Christmas stockings someday. I couldn’t resist this book, either. I haven’t started this one, yet – have to get the right size circular needles. Looking forward to it as well as another trip to the yarn shop (I just never seem to get there enough!).
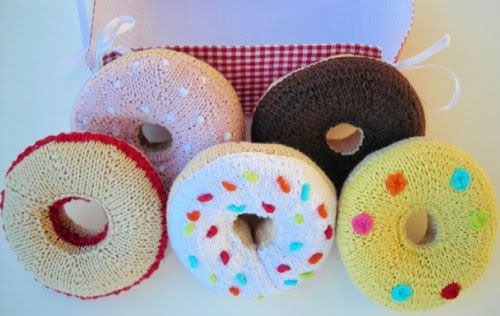
The knit doughnuts are from Fawn & Forest. The knit elephant, leopard and zebra are from Polka Dot Patch. So cute and inspiring – great giveaways or wrapping accoutrements for Christmas!
Amy Butler Designs & Ohdeedoh


Ummm…delicious fabric and patterns! I’d never visited Amy Butler’s site before but there is a ton of great images there for inspiration and a severe case of gotta-have-it-itis. Be sure to check out her site here (pictures are from her site) as well as the site Amy mentions called ohdeedoh (great design there!). Fun stuff and great design; being a midwestern girl myself, I especially enjoyed the Midwest Modern preview and collection.
Cafe Press: Greeting Card Innovations


Love the Human Fund card (yes, we’re Seinfeld rerun fans). Some of the designs are fabulous. Some of the designs are really not my taste. There’s a huge variety at Cafe Press – and it’s because this site allows you to sell your own cards, calendars and other items and prints on demand – fabulous. It’s like nouveau Ebay or Etsy but for print! Me likey! Check the selection out here and click here if you’re interested in selling designs. I especially enjoyed browsing the political bumper stickers – wow – eye openers!
Lotta Jansdotter Fall Collection
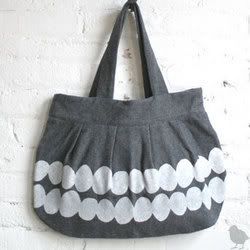
I love Lotta’s stuff…this fall isn’t as great as some in the past except I do adore this pattern on the charcoal gray bag. Lovely! Check it out here.
Great Sales at Brocade Home
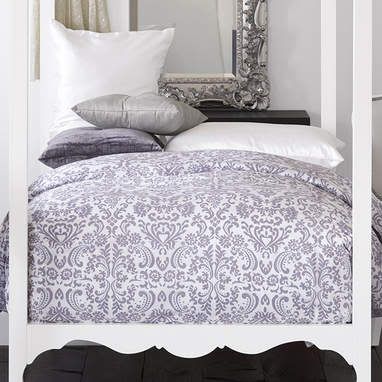
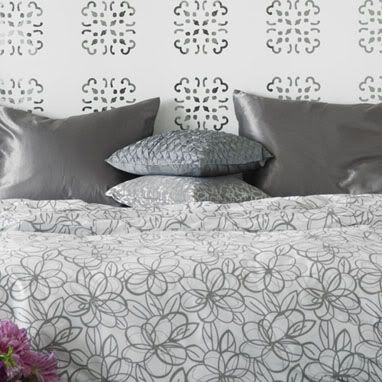
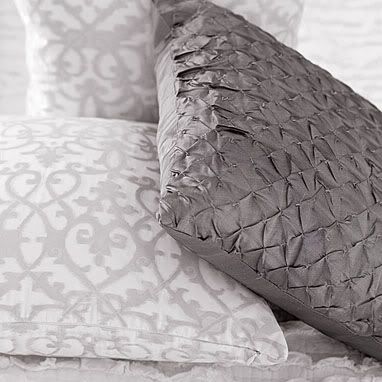
Love this site. Watch carefully and every cool thing on their sale section gets to eventually be another half off (at least that was the last great sale I saw!) – makes the extra shipping for furniture worth it. I’m not too frilly of a person but I just love, love, love these gray and silver duvet covers. Check out the website here and the design blog here.
Gorgeous, Inspiring Sites!
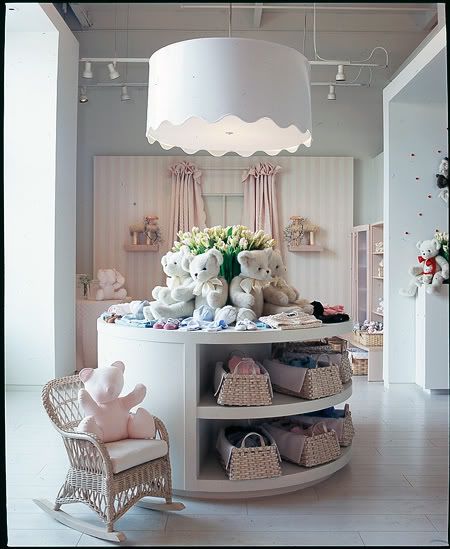
I had never before seen The French Garden House. I normally like much more spare design but it is so very lovely.
I wish I spoke or read Norwegian because here are two design sites that I discovered today. I love Danish and Norwegian design because they use what they have and it is spare and somehow still is very, very pretty. Clears the mind. Check out the two sites here and here.
Adorable Site – Pimp Stitch
What I Designed Today: Which Cover Did My Client Choose?

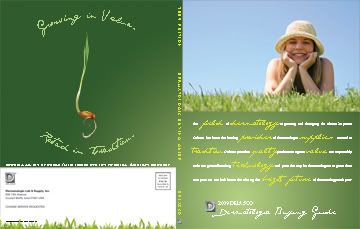
Photos attributed to: Big Stock Photo (see right hand column for links and info).
I designed both of these mockups for a client recently. We were feeling green. So — which cover do you think my client chose? The one with the girl or the one with the leaf? Vote for your favorite by leaving a comment and then we’ll compare those results with the one my client actually chose! Could be interesting…
Before & After: Simple & Spectacular Design!
Just received my latest issue and it’s always a lovely surprise in my email. I have been subscribing to Before & After for a very long time. It’s cheap ($24/yr for the online version) and short (easily read!) and is usually stuff I already know but presented in such a way that it gets the creative juices flowing again. This mag would be perfect for any kind of designer: print, web, scrapbook, fabric, you name it! You can check out the mag here and the design blog here. Bonus – the blog is holding a design contest for a boring book! Check it out. It’s all about the ideas, baby…
What I Designed Today: Photoshop Family Silhouettes “How-To”

A few of you asked how to create family silhouettes in Photoshop. I’m sure there’s a zillion ways but here’s how I did it.

Step 1: Take the digital photo.
Stand each family member, sideways, against a blank wall. It would make it so much easier if you had a really white, plain wall with no shadows (i.e. no flash if you can manage it).
Step 2: Get it on your computer.
Transfer the photo to your hard drive (remember where). If you don’t know how to get a file onto your computer, please, just stop now. Just teasing – just email me and I’ll try to help! Open the file using Photoshop or another photo editing tool. This how-to will be using Photoshop CS2. Be sure to save your work as you’re going along!

Step 3: Make your selection.
Using the magnetic lasso tool, make a single click at the bottom left edge of the person. This is your starting point. Continue to make single clicks to help guide the magnetic lasso where you’d like it (if it places a node where you don’t want it, just hit the delete key and it removes the last node). Continue single clicking and following the outline as close as you can around the top and back down the right hand side. Once you get to the bottom on the right hand side of the silhouette, double click and the loop will automatically close. Alternatively, you can manually hover over the original click on the LH side and you’ll see a small circle appear indicating you are closing the loop. If you accidentally clicked elsewhere or “lost” the marching ants, no fear – just hit CTRL+D to deselect everything and start over with the magnetic lasso.
Step 4: Edit your selection.
There are a few options for editing your selection. While the marching ants (dotted lines) are activated, you can choose modify and smooth on your drop down menus. Or, you can use the circle or marquee square tool (while holding down shift) to enclose additional portions that you wanted to select. If you want to SUBTRACT portions, hold down the ALT key while you make the marquee and it will subtract those portions. My favorite way is to use the polygonal lasso tool while pressing CTRL and click to curve out a pony tail or any other feature I want – just click away in the approximate shape you want and be sure to double click to close the shape.

Step 5: Once you have the outline or silhouette selected how you’d like, fill in that area with black from the drop down menus (Edit / Fill / Black), or Shift F5 brings up the same menu.

Before clicking anywhere else and while the marching ants are still there, choose Select / Inverse from the drop down menus. Now click Edit / Fill / White (you can also just Edit / Clear if you are on a white background but Edit / Fill / White works every time).

Step 6: Touch up with the air brush or eraser or however you’d like. This is where I remove double chins and stray hairs (and stray hairs on double chins, just kidding)! It’s easy to add hair flips and pony tails, also, with the shape/pen tool (the one that looks like a fountain pen tip).
Print on a laser printer or alter proportionately to fit the final size dimensions you are looking to create by using the Image Size and Canvas Size options. Be sure to do this proportionally. Save your file as a grayscale tif or, if you prefer, convert to a bitmap (very small file size).
Email me at liz@sparkbark.com if you have any questions or need any help with this – it’s really fun to do on an annual basis to see how everyone changes over the years. Be sure to email me your best silhouettes – I’d love to see it if someone took the time to do their pet!
Serena & Lily – New Blog!
I wanted to write my “how-to” page for the Photoshop silhouettes I made and displayed earlier in the blog but this came into my in-box and thought I’d share for today instead. Look for the photoshop silhouette tutorial tomorrow. Mostly, Bennie is throwing crayons and playdough from his high chair and he needs some actual human interaction (I’ve already put in 6 hours of work today, good thing he slept in ’til 10:30 am!).
Scribble Effect in Adobe Illustrator

Fabulous tutorial for Adobe Illustrator. Great for designers, scrapbookers, or just for folks who like to play around in Adobe. Take a look here. Great site for tutorials. Enjoy!
Cowboys & Cowgirls – New Dwell Collection
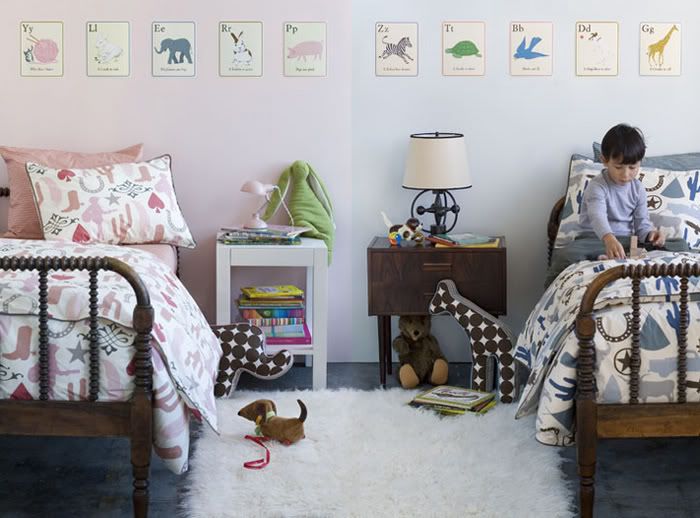
Love most things Dwell. Dwell for Target, Dwell at Design Public. I love the dots. I love the animals. I love, love, love this cowboy collection…and even more because they have a pink version. Not that I’ll be buying that one for any of my boys, but… Check it out at Design Public.
The Stendig Calendar
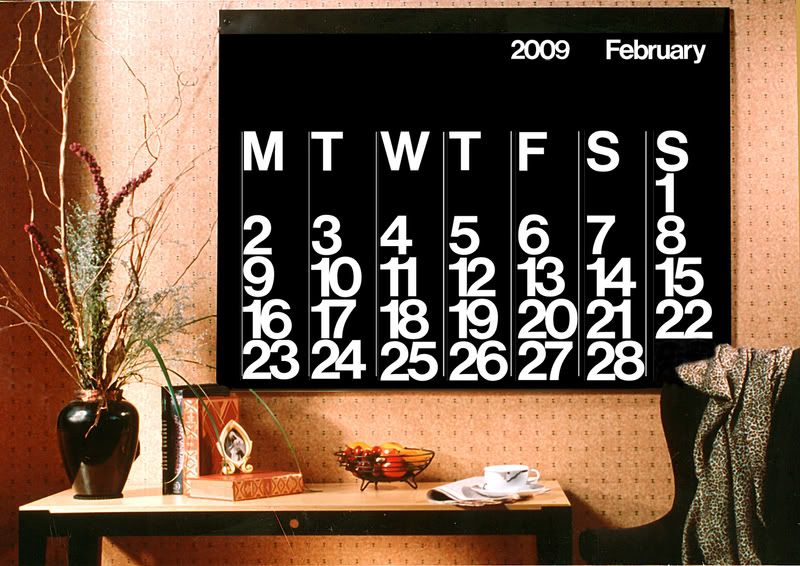
I’m not sure why I like it so much – it reminds me of the decades-old-default-calendars in Corel Draw (way back to versions 4 & 5!) that I used to make for meal calendars back when I was newly married but even those had room for writing in a meal plan! Everything you always wanted to know (or not) about the famous Stendig Calendar. Classic design. Reasonably priced, too, for a classic. Although, you can’t really write the family schedule on this now, can you? If you can, I’d like to see it! Much more appropriate for display purposes.


