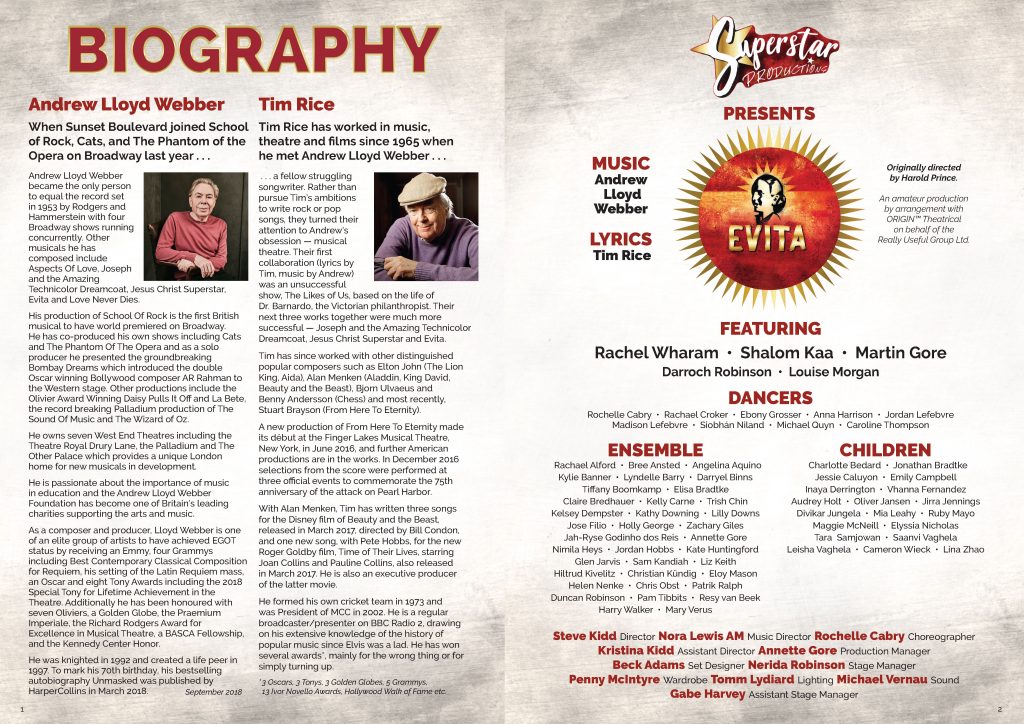
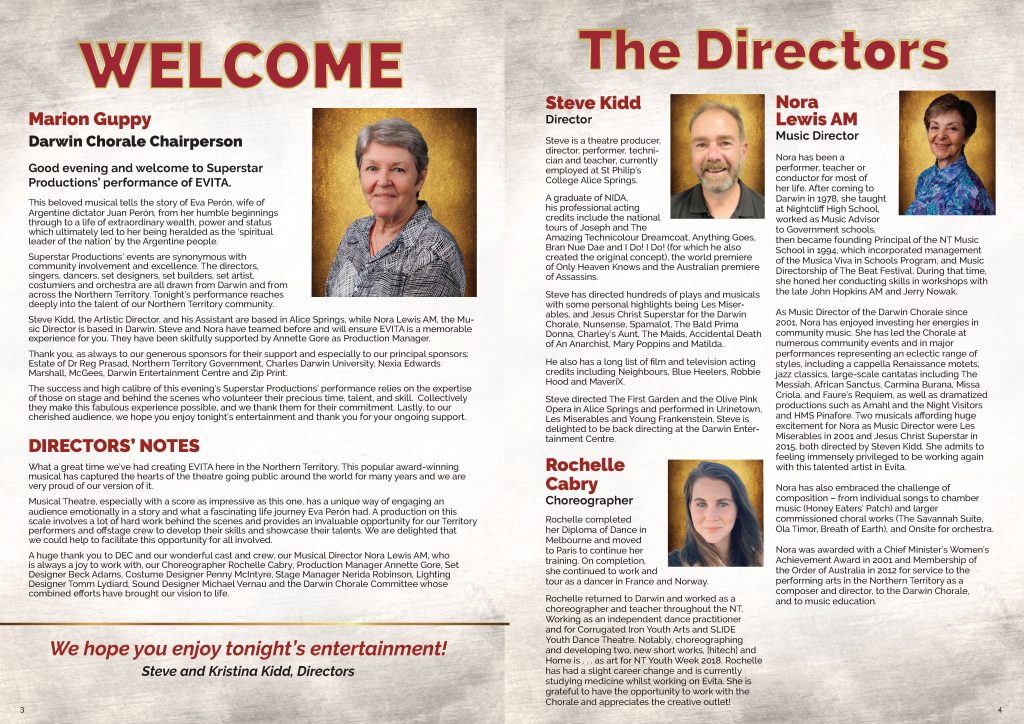
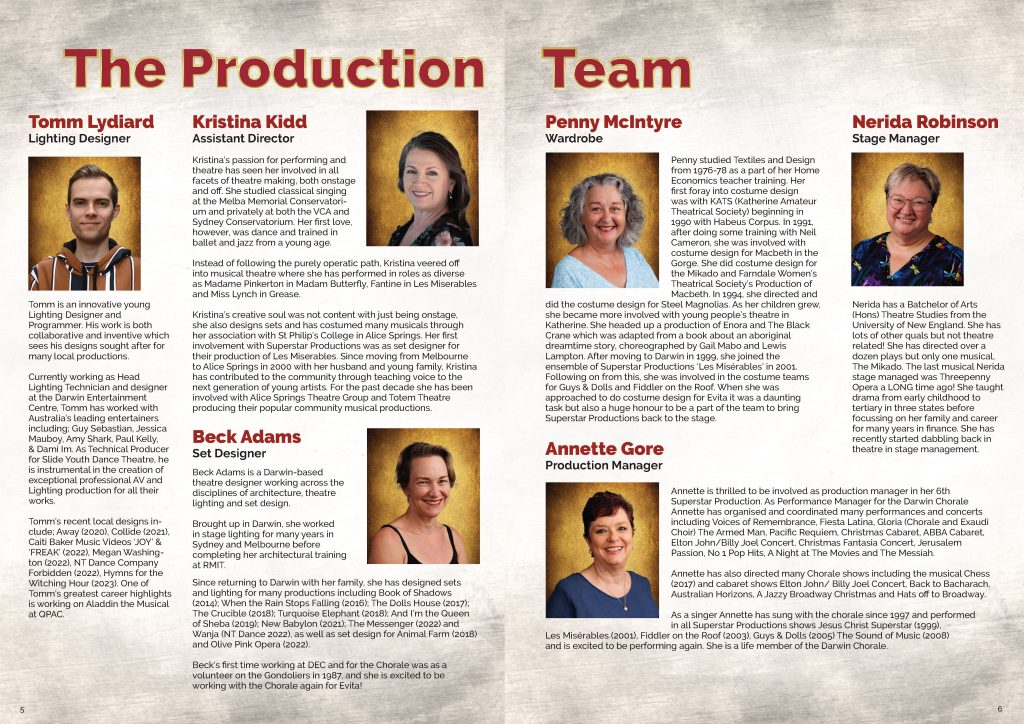
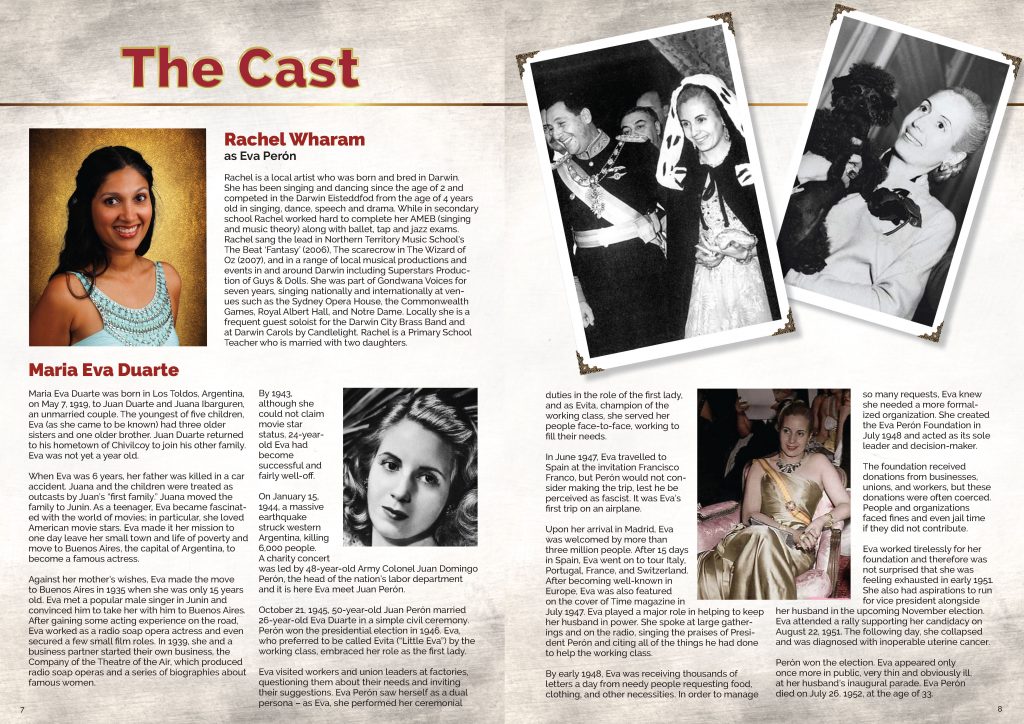
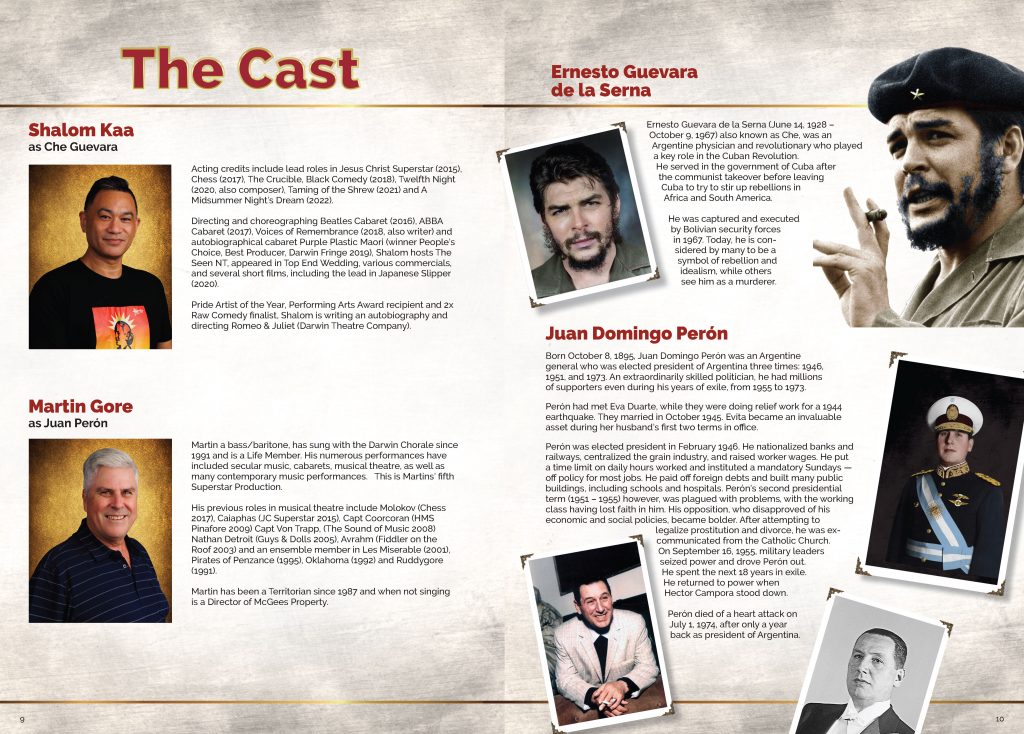
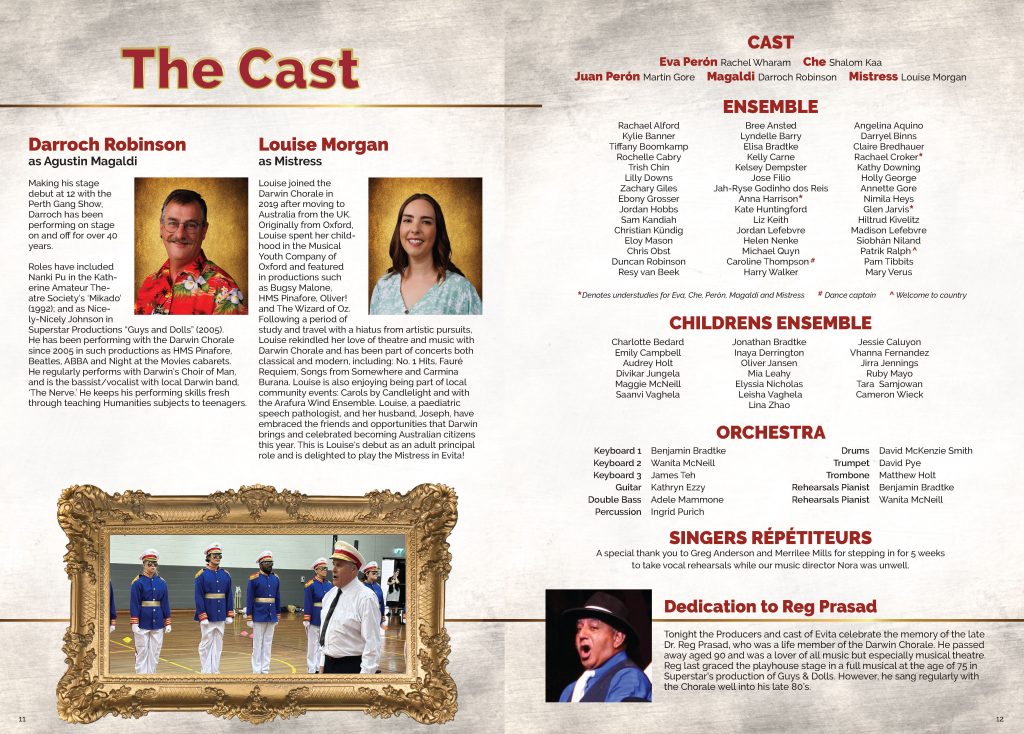
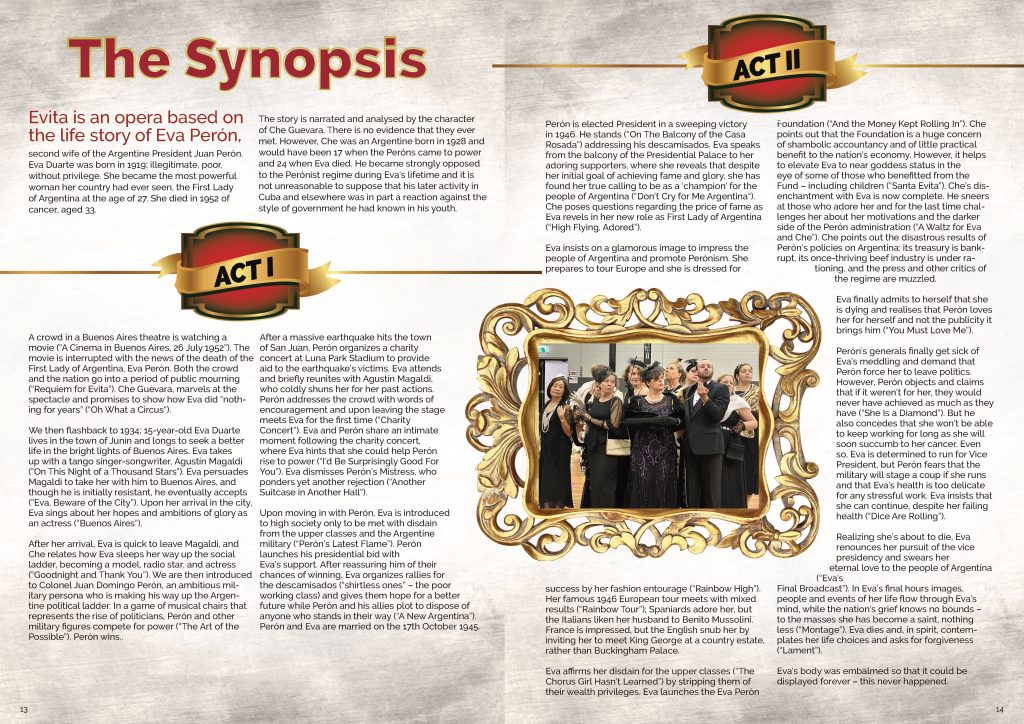
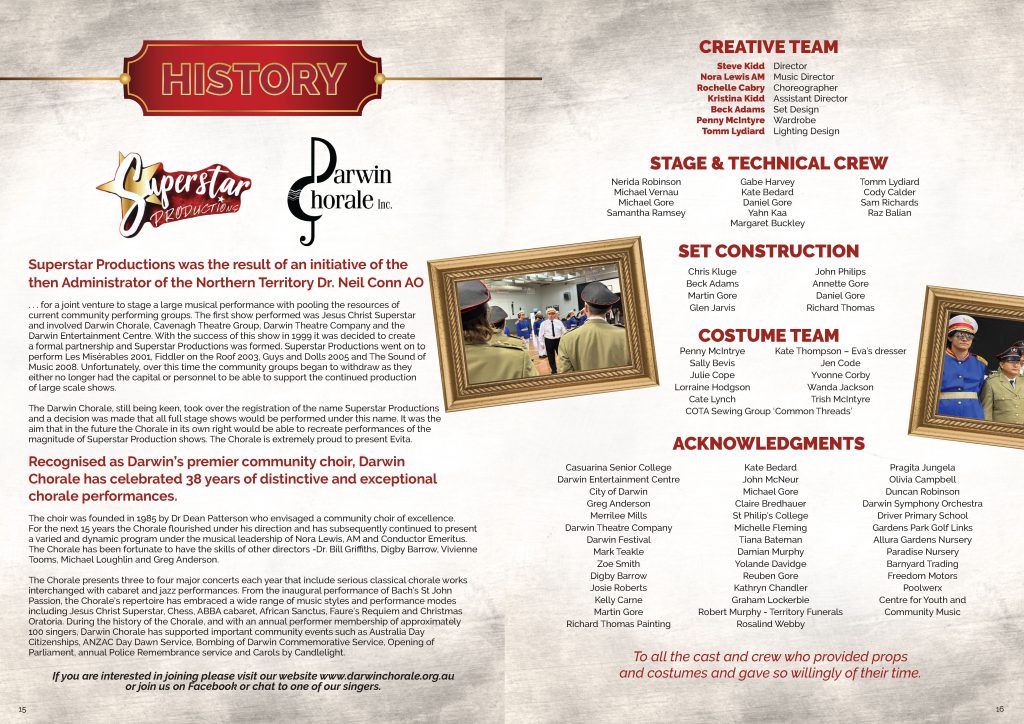
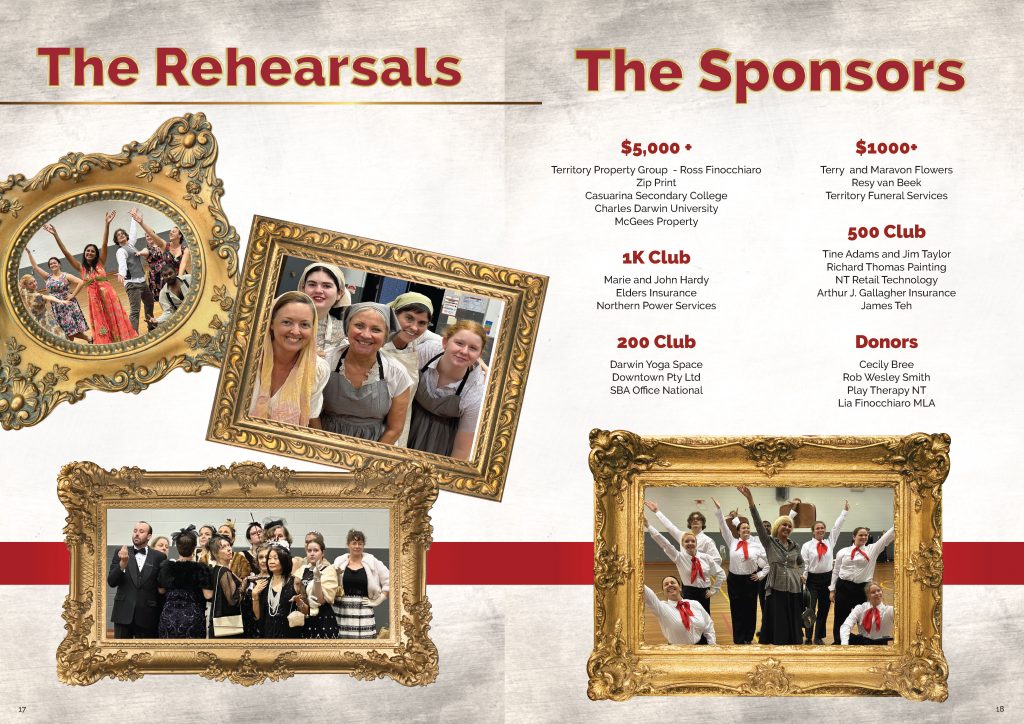
What I designed today: An Evita Theatre Program for a Theater in Darwin, Northern Territory, Australia

Yes, I spelled “theater” both ways — the intentional “error” will increase engagement and better the SEO results for my Google search terms, so it’s a win-win for everyone except old-style grammar afficionados and most English teachers. As unofficial president of the Sharpie Enthusiasts Club, I apologize and encourage fixing the error with a Sharpie.

This program was actually designed in very early July on a rush basis because the original print layout person became ill. It’s been a few years since I designed anything for the theater, so it took longer than usual, but was fun to try and match the original cover style the original designer had created. I loved the custom gilt frames and golden photo backdrop I was able to bring to the interior — particularly the spreads for the major roles. It’s been a long time since I designed anything and felt like riding a bike after many years. The speed will come back as soon as I get familiar with the upgrades to the tools I used to use and some fantastic new ones that have surfaced in the last 6 years!

The show had all sold out performances — CONGRATS to Superstar Productions and the Darwin Theater in Darwin, Northern Territory, Australia!

What I designed today: A horizontal funnel to illustrate learner journey retention for Google Cloud

Disclaimer: I’ve been so busy working that most of the “What I designed today” posts are going to be a retrospective! I designed this horizontal funnel a few weeks ago. The funnel was used in executive presentations using Google Slides for Google Cloud Partner Learning & Certification. The intent was to illustrate Google Cloud learner journey progress through a 5-stage funnel. I had a difficult time finding a vector or raster graphic for a horizontal funnel, so I drew one in Adobe Illustrator! I actually drew two versions: a horizontal funnel WITH a gray path and one without. Here’s the original .ai file for Adobe Illustrator for you to copy and tweak or a transparent PNG. Not-so-incidentally, this fits standard Google or PowerPoint Slides perfectly.

SEE BELOW the FUNNEL IMAGE for QUICK DESIGN TUTORIAL on how to use PNG files and keep image sizes low in large presentations and documents.

Design tip: place the entire PNG in your file and crop the image to the part you want to use. If you’re working in PowerPoint, you can compress images to what is shown to keep your file size down. Here’s a handy, quick 1-minute video tutorial on how to save space by compressing images in PowerPoint — makes for easy file sharing and space saving files. It was an old tech tip I shared with colleagues in my last role but still applies for those of you who want to keep file sizes down for sharing without using cloud hyperlinks.